Tuesday, April 9, 2019

Ultimate Decluttering Guide

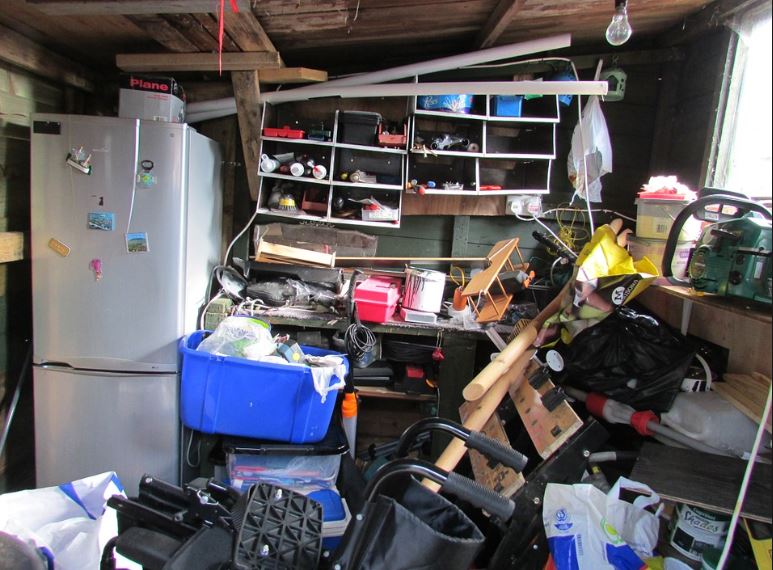
Decluttering is one of the habits that you should want to have in your life. There are already millions of homes filled with so much clutter that their houses already look like a hoarder’s. For generally clean people, this is not a problem but for the majority of us, clutter is a serious problem.

We all want clean and spacious houses but the truth is our lifestyle and consumer behaviour does not allow us the ideal situation. The idea of decluttering can be quite too much especially when you realize the sheer amount of items that you have.

According to the LA Times, the average households over 300, 000 items. This is an astounding number of items given that the average space of a house is just getting smaller and smaller.

A minimalist lifestyle is ideal especially for young professionals who still have no kids. Most of them need only the bare essentials so it would only be best to start decluttering from now.

Here is a comprehensive decluttering guide that you can follow to ensure that your house does not look like a hoarder’s house.

Start Small

Decluttering can be overwhelming. Items piling up do not get rid of themselves and often, this clutter can hold up to months and months of unnecessary items. Start off with a small space just to get yourself going. Tackle a kitchen counter or a dining table first and then work towards the bigger space afterwards. You need a sense of motivation to keep yourself inspired. Cleaning can be a boring, back-breaking task and keeping yourself motivated will be hard.

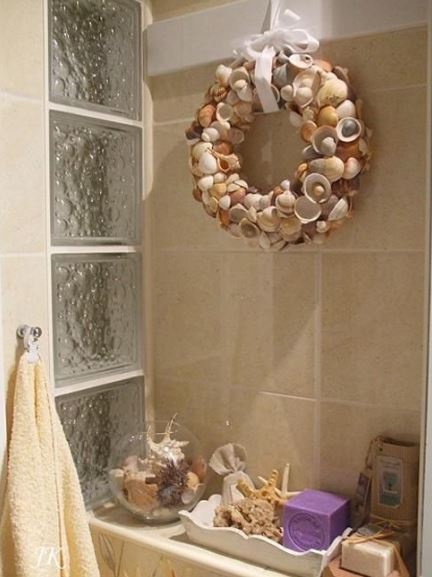
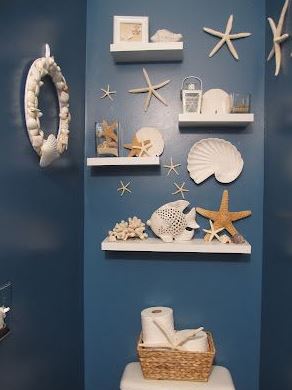
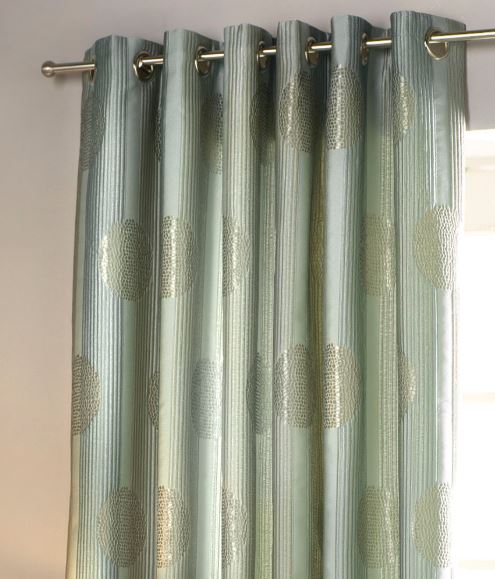
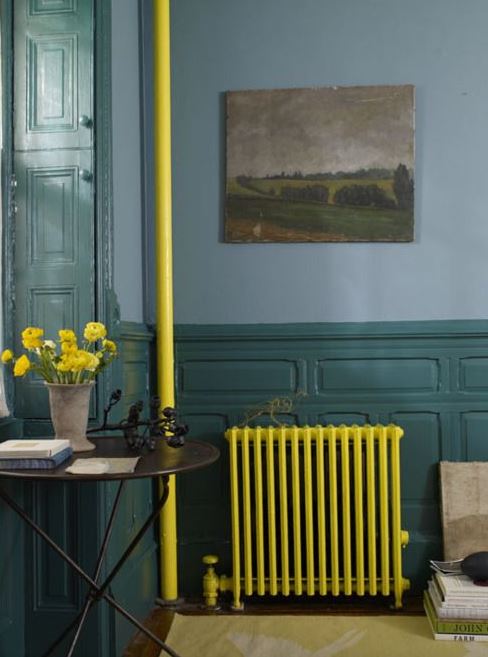
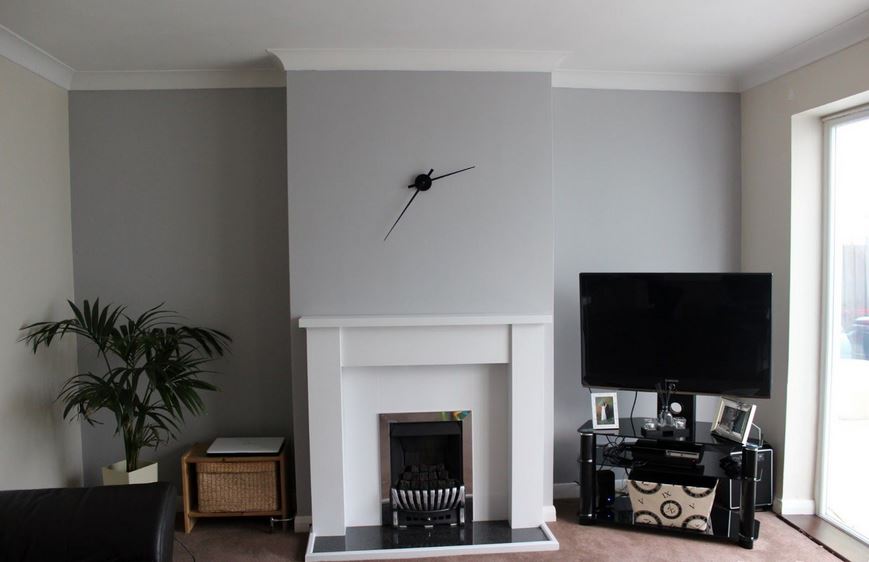
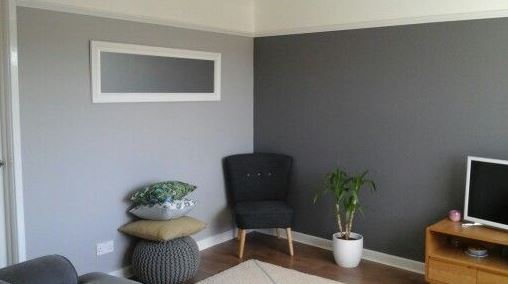
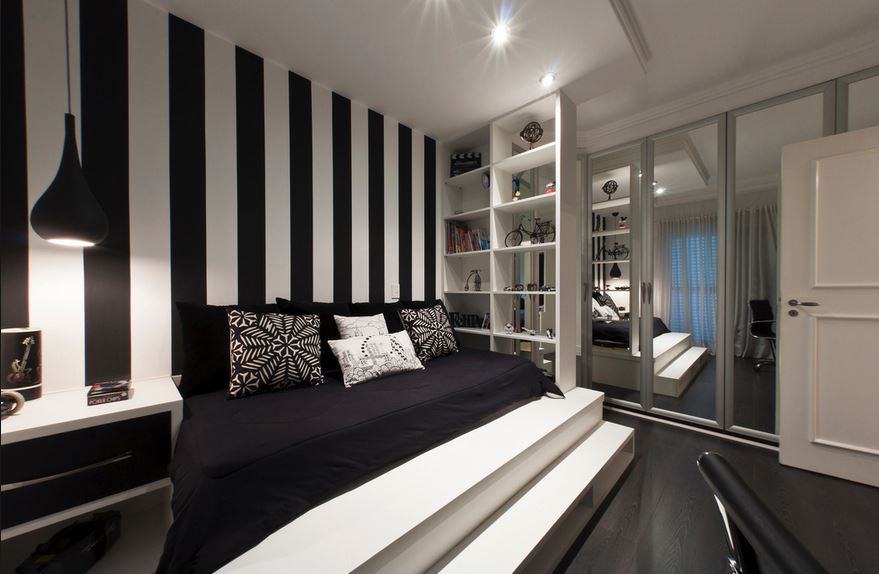
Perhaps starting with only your walls can help, since this is the first thing that draws everyones attention, this way you'll be motivated to do the rest of your home once you start noticnig the benefits of decluttering. Because you've now got free wall space, how about expanding your room with wall mirrors and creating a space that feels large, warm and not so claustrophobic anymore.

Work Slowly and in Increments

Work Slowly and in increments so you do not burn yourself out. Instead of using up the entire day just for decluttering, make it a habit instead. You can do an hour or two per day just for cleaning up or you can spend an afternoon on a free day. Don’t rush yourself. It’s better to have steady progress than a rushed success.

Get Organized

After cleaning and organizing each area, decide immediately what you want to do with the items that you’ve deemed unnecessary for your daily life. Create 4 piles: For Self-Storage, to throw away, to donate and to sell. One mistake that often occurs from people deciding to declutter is that after they declutter one area, they just bring the items to another area. Make sure that the items you decide to throw out goes straight to the trash or you’ll just end up with a big pile of stuff that you can’t throw away.

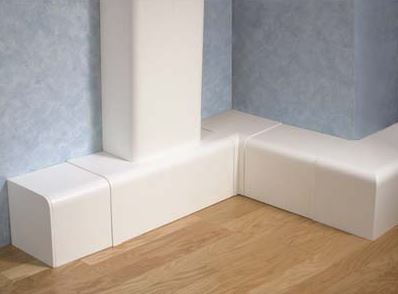
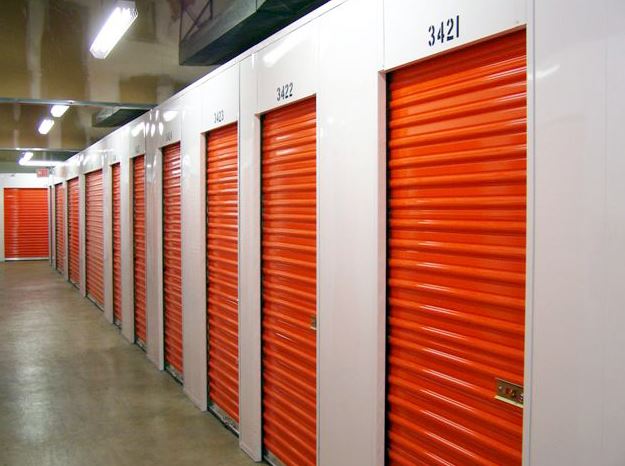
Rent a Storage Facility

     “One of the best actions to do when decluttering is to rent a storage facility” - WhatStorage?

Let’s face it. We all have items inside our homes that we can’t really part with. These items hold too much sentimental value to us or may still be useful in the future. However, keeping them inside our houses can be too troublesome. Renting a cheap storage facility to store them in would be the best solution for you. Self-storage facilities are a cheap and versatile solution to your storage problems. You can find a storage facility almost anywhere.

Enjoy Decluttering

Try to enjoy the little things about decluttering. For example, having a spacious house afterwards. Once you start enjoying, decluttering would very much be easier and faster. Focus on what is important and always remember why you decided to declutter.

It may be hard to let go of your items especially those with special memories associated with them. However, there is an adage, “Keep the memory but let go of the items.” This means that you can still reminisce without having to keep your house filled with unnecessary items. Here are some tips to help you let go of the items that you have.

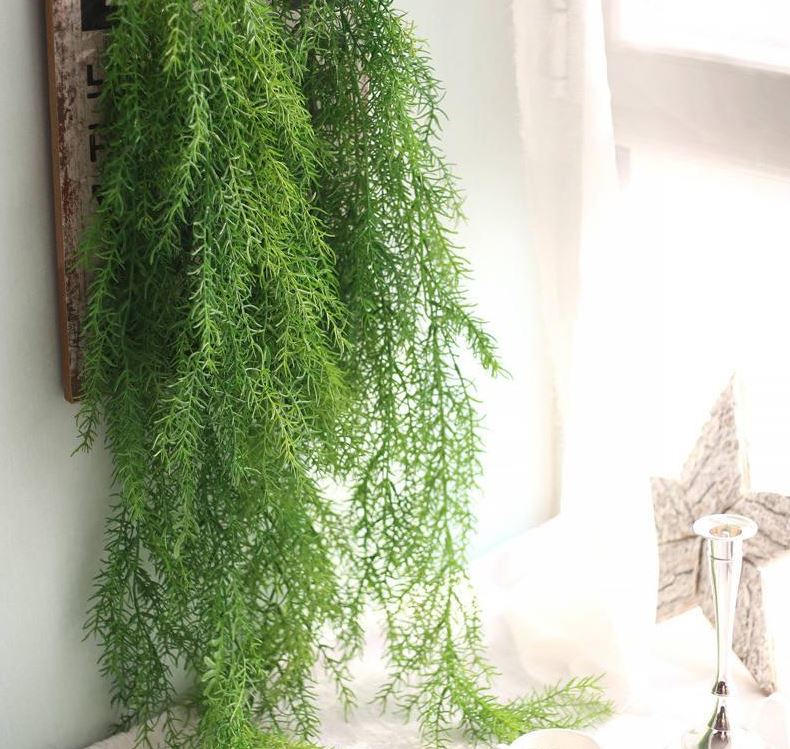
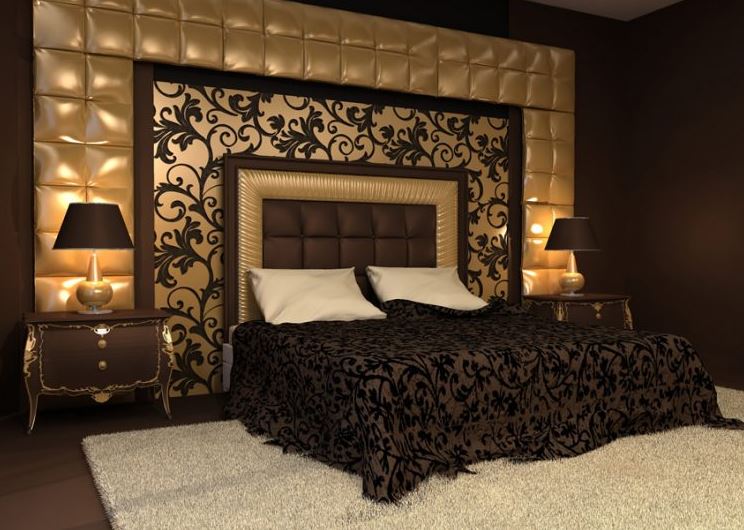
Whilst decluttering, don't forget to take into account what else you may need to add to your home now that you've freed up plenty of space. One great way is by Re-Designing your Home with Hand Carved Furniture to give it a more complete look now you've removed all the useless items from your interior.

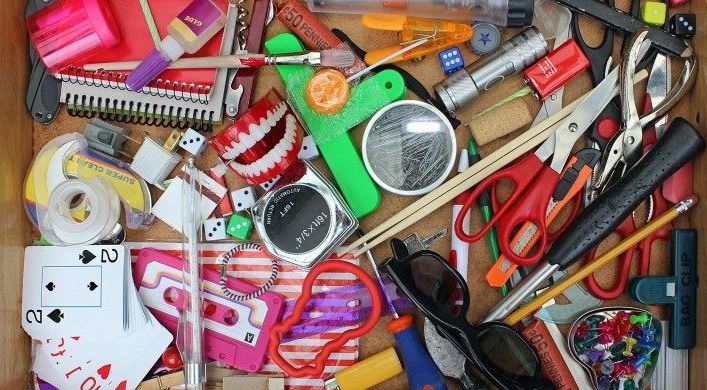
Be informed of the 80/20 Rule

The 80/20 rule is the phenomenon that occurs in most people. It states that out of the 100% of items that we own, we only generally use 20 percent of it in our day to day lives. This can hold true for clothing, games, computer parts, books, tapes, toys, etc. Now that you are aware of this, make sure to get rid of the 80 percent that is basically just clutter.

Don’t Think About Their Past Value But Their Present/Future Value

The Wall Street Journal recently published an article that on average, Americans spend over $1.2 trillion annually on unnecessary items --- this ranges from decorative items to stuff that they impulsively buy and do not use.

Often, people don’t get rid of their items because they are aware of the item’s past value. However, this should not be the case. Look at your stuff with its present or future value instead. There is no use in thinking of value that has long past.

Is the item still worth anything to you? Does it still have utility? If not, then what is it even doing inside your house?

Check Your Appliances If They All Work

Another factor that adds up to the clutter in our homes is broken appliances that “we swear to fix on our free day.” Let’s be real. Most of these appliances are too broken to fix or would cost less to buy a brand new one. Throw them out and enjoy the extra space.

Monday, April 1, 2019

Home Improvements: What to do with shells from the beach

When you think of home improvements, you would most probably think about them costing you a dime or two. Well it doesn't have to be that way, all it takes is getting your hands dirty, some elbow grease and our help to improve your home in a number of ways by using the seashells from your favourite beach.

You’ve most probably collected shells before with your little one, perhaps for one of their own art projects or easy shell crafts they can do at home. But we bet you’ve never collected them to improve your home. There are plenty of ways you can use shells to add attention to detail in a bathroom or dining area, keeping you up to date with the latest home decorating trends 2019.

Here are just some of the things you can do with them.

But before we get into that, you’ll want to know how to properly clean your shells so you can get a spotless look which will match perfectly with the rest of the home...

How to Clean Shells from the Beach

There's actually quite the debate always going on about how to clean seashells from the beach, do you use baking soda? Regular fresh water? How about the water the shell was found in?

There are many different opinions across the web, here is ours;

MURIATIC ACID, shells will finally have their natural colour back and you’ll see a more beautiful side to them!

But don’t worry, muriatic acid for those of you who don’t know is just another word for hydrochloric acid. Which can be found in many household products such as toilet bowl cleaner and tile cleaner. This exact acid can be used to clean your shells.

Here is a safe solution for you and your shells and how to get them clean;

  • ¼ cup of muriatic acid and ¾ cups of water.
  • Dip for a maximum of 3 seconds and neutralize in fresh water straight after.
  • Avoid contact with skin and stainless steel

If you want to see the process of cleaning shells from the beach and you want to be mesmerized by the dirty to clean to shells, check out the how to bring back color to seashells tutorial.

How to make Seashells shine

It's one thing cleaning your shells and making them look like they would in the sea, but it's another thing completely to have them featuring their natural shine. With some mineral oil, you're going to want to rub over the shell to give it a deep clean, it does 2 things:

  • It restores the natural shine of the shell
  • It preserves the shell

How to keep Seashells shiny

Finally you’ve got that shine back, but how do you go about keeping that beautiful shine so that after you’ve created your masterpiece, you can be happy knowing nothing is going to ruin ti design?

You can spray satin-finish polyurethane or coat with clear nail polish. Although this may be a lengthy process for each shell you have, you’ll be able to reverse the shells organic shiny look and give it an even extra glossy shine.

Decorating with Seashells in a Bathroom

Just like using old storage pallets to create your very own DIY furiture, there are plenty of ways you can use seashells to bring out a natural vibe in your home, especially in the area of your bathroom where these shells will fit the most.

Here are some end results, from the people who are already using this cost efficient way of bringing stylish design to their homes.

Seashell Display Jars

You’ve probably seen plenty of these from the image above, seashell display jars are one of the most common and probably the most stylish way of bringing the beautiful gems of the ocean into your home. Without compromising on the design of your home.

The best part about beach in a jar is that there is no limitation to what you can do and no two jars look the same so this way you can have something unique that only you own.

Jars with sand and shells are not limited to a bathroom, although we think they do look the best in there, these wonderful creations can also work to work with their environment, making them great in kitchens and lounge areas that feature ocean colours.

Now, we bet you’re excited to go ahead with going to your local beach, picking out some decorative shells and making your own sand and shells in glass jars. But we also know you’re probably wondering how the hell you go about gluing your shells to glass? Or how you even managed to get the sand to stick without it looking complete without purpose?

Read on to get some pro tips on how you can achieve your seashell in a jar dreams.

How to Glue Shells to Glass

Less is always more, as they say. Applying glue to shells is no different, there are many different techniques and practices for going about this. You’ll need some form of hot glue, typically that will from one of the craft glue guns from your local craft store.

Once acquired, you’ll want to squeeze a sizeable amount of glue on the outside of the glass, then you’ll want to take your best looking seashell and press down firmly on the glue. Hold for a minimum of 60 seconds to ensure the glue can harden around your shell. Repeat this process till you’re happy with your final design.

How to Glue Sand in a Jar

It's important you get the consistency right, with to much glue you’re going to look you made this with a blindfold on, alternatively with not enough glue your sand won’t stick to the glass and you won't get the desired effect.

To get the desired look, you’re going to want to follow our golden rule:

For every 1 cup of sand, you’ll want to have 1 cup of glue.

Doing this, you should get a thick mixture, with a little mixing you’ll be ready to add your gooey sand to the surface of your jar, spread out evenly for a balanced finish.

Other creative uses for seashells in your home

Beyond the basics of using shells and sand to make glass shell jars, there are other creative uses for seashells that you can use within your home, outside of the bathroom area.

As a side note, seashell crafts for adults is fun but it's even more enjoyable once you get your kids involved. Allowing them to help you create something that is going to be a cherished part of your home for potentially many years.

Seashell Display Case

For collectors out there, this is one of the ways you can proudly put your favourite seashells on display.

These seashells were probably left over from your glass jar projet, you’ve probably thought to yourself ‘these are just too beautiful to use’ and instead just threw them in a draw never to be seen again.

Making something out of them and putting them on display gets you the best of both worlds. You can admire a natural resource whilst adding a personal touch to your home, wherever you choose to feature your brand new display case.

There are many ways you can come up with to add shells to a display case, one of them would be to use a wooden, sort of like a larger display cause would be used from and assigning compartments for your favourite seashells. Maybe in order of size, type, or even colour.

We have yet to cover how you're going to manage to add shells to the display cabinet, so here’s how to glue shells to wood.

How to Glue Shells to Wood

Just like glueing to glass, you’re going to want to get a hot glue gun from your local craft store, so that the shells you attach will stay attached. However it is advised that you clean your wood before hand as dust and other particles can be visible even after the job has been completed, mostly this goes unnoticed with glass surfaces.

Seashell Shadow box

Similar to display cases, using a shadow box to display your shells will offer you another way of bringing in the natural design. However, these should be used as an alternative if you truly take pride in the design of your home, and you’re looking for a way to add shells that won’t compromise the general design.

This is because, unlike display cabinet, shadow boxes feature a more organized finish making them ideal for people who like to have a modern home looks like each decor piece was placed with purpose.

Shell Shower Curtains

You’ll most probably see some form of shell shower curtains in your home, but I bet they are all printed designs and not the real thing. Well why not use the real thing and create some fabulous curtains from them?

Whether you start off with a blank curtain or you use a shell design that is going to compliment the actual shells which you’re going to feature. However you choose to go about this fun craft, make sure to glue everything down properly and have some fun with it.

Seashell Animal Crafts

With seashell crafts, with usually think about larger designs, whether that's shell curtains or seashell jars. But what about little dinky ornaments that can fit on any tableside in your home that can bring you some unique style that has been made from seashells?

These little dicnky ornemants are seashell animals, whether you’re a lover of foxes, ladybirds or any other animal in existence, we are sure you can achieve the design with a couple of sea shells, some paint and a great deal of imagination.

How to make Seashell Animals

Now, this would depend on what sort of animal you’re looking to create. Thankfully we live in the age or internet so having resources for this information won’t be too hard to find, however we want to give you a head start, here are some tools you’re going to need if you want to create one of these beautiful pieces for yourself.

  • Hot glue gun
  • Some of your favourite paint and paint brushes.
  • And a creative mind

If you’re unsure what to create, perhaps you don’t have a favourite animal or you’re just looking for a unique idea, here is over 100 seashell animal crafts to inspire you.

https://www.youtube.com/watch?v=ZbKUhTBb2TE

Broken Seashell Crafts

When we’re looking for seashells, we usually look for the most pretty and eye catching ones, I mean that's just the way we are naturally as humans to seek out the most beautiful thing as possible.

But that means we waste materials that could add to our home, such as broken seashells.

Broken seashell crafts are unique in the sense that they take something that seems to be at the end of its life time, soon to be washed away or thrown away and turn it into something that is elegant yet charming and a piece that could become a great addition to a bathroom, lounge or bedroom area in a home.

Monday, March 18, 2019

How to Cover Unsightly Boiler Pipes

Although we are deeply grateful for the warmth that boilers provide, they’re certainly not the most alluring item you will have in your house. They don’t add much to a room’s décor. The pipes mess up the interiors and make rooms look lousy. Actually, they are an eyesore and can neutralize the elegance in any captivating décor - unless of course your home is of the rustic style, then move along because boiler pipes can add to the design of the home.

Otherwise, to counter this effect most homeowners often find themselves investing in false ceilings, new cabinet designs and even reconstructing and breaking down walls just to ensure that the boiler pipes are not exposed. Though very effective, these approaches are very expensive and need a lot of time to implement.

What’s more, you will need to hire qualified professionals who charge exorbitant amounts for these sort of ‘home improvements’. This essentially means that if don’t have deep pockets or know the right people, you will have to put up with unsightly bathrooms and rooms that look like dreary for a very long time! Very depressing right?

Fortunately, there are some things you can do to salvage the situation affordably. Read on to find out about interesting but cheap ways on how to cover unsightly boiler pipes:

Conceal with a Curtain

One convenient way to hide your unattractive boiler pipes is to hang some fabric or a small curtain in front of them. This way the pipes will not only be easily accessible in case of a malfunction, but you will also not see them whenever you visit this particular room. Don't forget design matter, so don't just use a random curtain to hide the pipes, ensure it will complement the space in its own right too, as to not draw unnecessary attention towards it.

Design tape around the exposed pipes

Design tapes can transform unsightly pipes from an eyesore to beautiful and attractive pieces. You can find decorative tapes at local stores for a price tag that won’t break your budget. Try them today and watch as your space changes from drab to fab!

Box in the pipes

Consider boiler casings if you want to spruce up the pipes underneath the boiler. They are specially designed cases that cover the pipes completely concealing them safely and giving the house a tidy appearance. Just ensure that pipework, as well as the boiler, have enough ventilation and that the casings you use meet the standard requirements.

Use DIY chalkboard covers

If you have time, why don’t you create your chalkboard cover (You will need to be an expert DIYer)? Create an MDF frame that goes around the boiler and the pipes then box the entire unit. For a practical cover that keeps the pipes discreet, use a lick of chalkboard paint.

Cover them with fake foliage

This is an amazing boiler pipe cover that will definitely give your home a tropical feel. Fake foliage offers a seamless solution to ugly pipes blemishing your home décor. For those who can afford real foliage, go for creepers and climbers. Though they require some effort and time in conditioning, watering and pruning them, they look excellent!

Paint the pipes in lively colours

Don’t just paint them like everybody else, do it with a twist! You can get ideas from your kids or spouse. Help each other with ideas and skills and you will be surprised at how creative you are. The results will definitely be spectacular. Not to mention you will spend time with your family and have memories to treasure forever whilst adding a unique touch to your home that the entire family can be proud of, since they were a part of it.

Factors to consider

Now, before you choose any concealing method, it is important to consider a few factors:

  • Which approach is the best for me?
  • Where is the boiler located?
  • What happens there and how exposed are the pipes?
  • Should you camouflage, detract or integrate them into the room’s décor design?

These should be anwsered before you start buying what you need to cover your boiler pipes, simply because even if you like the idea of let say...painting over them, they may not look right in your home. You'll want to have a great balance of doing somthing you like and that you're going to enjoy creating whilst making sure whatever it is your doing works for the home, since this is the purpose of the project after all.

Your Budget

Finally It is very important to consider these factors beforehand so as to help you pick the most stylish and appropriate solution for both you and your house. Also, when doing this, keep in mind that ventilation is very important. Be careful with what you cover and it should not interfere with the boiler’s functioning as well as your ability to access its internal parts.

Final Thoughts

Every apartment or house whether small or large has something that is plainly ugly, oddly placed or just weird. While these small problems may drive you nuts, stay they must because they are valuable as they are a part of the character of your home, which could offer a unique look when decorated properly using the tips we have just discussed.

Ultamility, the only viable solution is to be creative and make it your own. Luckily for you covering boiler piles is not that difficult, especially if you follow these handy tips. Good luck!

Friday, March 15, 2019

Master bedroom trends and home decorating trends 2019

When you hear the term luxury, what pops up on your mind? It definitely has something do with lavishness, richness, great comfort or splendor. How about you have all these combinations in the heart of your home, the bedroom! The following article will mention a few bedroom decor trends 2019.

The bedroom as you know is the most intimate room of the house, and after long day of breaking that sweat, you always look forward to having some quiet time in a calm space, with some good ambience.

Welcome aboard as I introduce you to the master bedroom trends 2019 you may want to incorporate in your bedroom this year. Why not welcome this year with a sense of style and more so, take it a notch higher by spicing up the bedroom furniture designs.

So, let’s take a look at the bedroom decor trends for 2019 and get inspired to have a gist of great ideas on how you can remodel your bedroom.


Chic shadow bedroom ideas 2019

Break the monotony of a dull-looking bed and be bold enough to make your bed a dream oasis. It’s very simple yet the end result gives your room an elegant touch. Get an outstanding head board painted with dulux chic shadow silk  that can be used on other items in the room to create uniformity. Another popular color for 2019 is the Dulux goose down paint available from amazon.


Delux chic shadow silk paint in greyDulux Chic Shadow Silk

Dulux Goose Down Paint MattDulux Goose Down Paint


Chic Shadow Dulux Paint


Chic Shadow Bedroom


Padded or Crushed Velvet Headboards

It should be large enough to allow you to comfortably lean against in case you want to read or just to relax before you sleep.

Going for a cushioned headboard has become one of the most sought-after trends today. This does not mean that you have to purchase a bed which has this design.

Save those extra coins and do it yourself by going online to check on DIYs of how you can make your own customized padded headboard.

Another tip on adding some zest on your bed is adding the number of pillows other than the traditional two pillows you already have. Normalize your room by harmonizing the range of colors that connect the furnishings together.


Rose gold bedroom ideas

[embed]https://www.youtube.com/watch?v=d-6CcUCwSo8[/embed]


Beds with a Skinny Frame

You could start by installing a bed with four posts in your bedroom. This could create an overwhelming effect on the rest of the furnishings in your room.

Picking a white colour or bright coloured walls and if you want to get a good contrast colours go with a darker bed frame.

You could also consider creating a balance in the colours and use differently sized furniture for instance pairing a thinner frame with some outstanding side tables and finish it up with some similar wood.


Bed-side table

There is a wide variety of side tables you can select such as the classic cocktail table, mirrored table, vintage-modern set, sleek storage and the teakwood cube side table.
Not only do these add style, but can also be used to store up your valuables.


Curvy designs

A popular trend you could get a hold of is chairs with a rounded back which will give some edge to the general look of the room.


Black and white bedroom ideas for small rooms

If your bedroom is not that spacious, you may want to create an illusion of room that looks large. The best way to go about this is to avoid having furniture such as a wardrobe or a walk in closet which may take up more space.

At this point, I would suggest getting furniture pieces that are easily convertible. Have a bed with drawers beneath it or add a chest piece at the bed’s foot that can also be used as a seat and for storage.


Black and white striped bedroom with storage


This is another trick you can use to get an impression of a larger sized room. Place mirrors to the closet doors or against the wall to do that.

If you also want to maximize on space don’t go for king size bed but instead, get a smaller sized bed. Also if you can get a ceiling fan that has lights, or suspended light fixtures, instead of having a night stands that will help you save on space.


Black white and gold bedroom ideas

Black and gold bedroom ideas 2019

Once you revamp the look of your bedroom putting all these suggestions into consideration, I assure you will find great satisfaction in spending quality time in your bedroom. Keep up with the trends 2019 get ready for the ultimate makeover and maybe make it a lovely black and gold like the room above!

Tuesday, November 27, 2018

Interior Design Tips Perfect For Any Home

https://i.imgur.com/pQHya8L.png
Interior design is a topic that lots of people are intimidated by. The more you know about decorating your home, the less mysterious the process will seem. The tips contained here can help inspire you to create a space that is both functional and stylish.

As you lay out your design plan, make color scheme a top priority. Make sure you know what colors go with what so as to avoid clashing; this will result in a well balanced look for the entire room. Having one or two of the wrong colors can make an otherwise wonderful room look awful.

Think about mixing in different colors and patterns to your design to make the space more vibrant. Patterns and textures can serve as great accent pieces, particularly on smooth surfaces like glass or wood. For a more contemporary room, different textures and patterns are necessary.

The amount of natural light available in a particular room plays a big role in the way its interior should be designed. When designing a windowless room, use light shades of paint so the room does not look cave-like.

Only listen to some of what professionals say regarding interior design. Your home will become that much better once you realize what exactly it is that you are looking to create, and it is always best to rely on your own judgement.

Think about what your children want when designing their rooms. Think about what they like so that they can appreciate how you redecorate their room. Be sure they can easily access everything. Look at the things from the child’s point of view to avoid doing anything hazardous.

Sometimes, redesigning kitchens is as easy as changing some cabinet doors. Among other options, you can change your cabinet doors to glass doors to make them more vibrant. Then you can add some accent pieces inside the cabinets to really give the room a sense of style.

You do have to think of others when you are redecorating. It is a good idea to add some of your personality to your home decor, but make sure you stay away from anything wild and crazy. Selling your home will become more difficult if a buyer would have to remodel something just to move in. If you really want to something that only you will like, be sure that it can be reversed by other people easily.

Lights are one of the most important elements of a room. Lighting will set the ambiance and the mood of the room. Bright lights bring positive energy, and they are good choices for bathrooms and kitchens. Bright lights can also be too much for a room that you are looking to relax in. Dimmer lights are great for places like dining and living rooms.

One fast way to update a room is concentrating on the accessories. Accent pieces and lighting fixtures can be traded out easily. Add some new curtains or tea towels in a room. These small changes can have a big impact on the overall design of your room, without negatively impacting your budget.

Lighting is an essential element that must always be taken into account. There are tons of ways to light up a room – you can use lamps, candles, windows, and a lot more. As long as these elements work in harmony, your environment will be brighter and more enjoyable.

If the room you’re redecorating has a fireplace, it’s important that you decorate that area properly. You can do this by making sure that the objects that you place on the mantle are correctly balanced. An improperly-balance mantle can be distracting and unattractive.

If your rooms are full, keep walls simple. Some individuals just own more things than others do. If you have a lot of things, you might want to keep your walls plain. Otherwise, your home will look cluttered and unkept. So, keep your possessions stored out of sight or selectively displayed for a clean look.

Slip covers are a great addition to homes with children and pets. Slip covers give you lots of different options to get a variety of looks for your furniture while protect it from kids and pets as well. You can even alternate different patterns as the seasons change.

Place your storage boxes into a playroom at your child’s height. When your child can reach his storage areas, clean-up time will be a breeze, and he will be proud to organize his belongings his own way. The space will stay clean and clutter-free, which will make it more usable and pleasant to inhabit.

Use a ceiling paint that is two shades brighter when compared to the room walls. If this is not done, you will feel like you’re in a box. This will make you feel like you’re suffocating in your room. Bright ceilings open up the space and give it a more expansive feel.

There is no easier way to improve the look of your home than to paint the walls. Your walls get neglected over time so they need repainted. Add color to the walls to make the room look great.

If you allow your child to choose the colors in their room, they may pick colors that their parents feel are too bright and bold. If their favorite color is too bright, use a lighter version of it. That way, the furniture can be matched to the walls. For example, try red accent furniture for a muted version of red walls.

As you design your home, take into account how many people you wish to accommodate? Does your home need to accommodate just a few people or considerably more. Also, remember different rooms need different moods and furniture. For example, your dining room should have a different design than your living room. Keeping these concepts in the forefront of your mind as you progress will allow you more leeway in creating a design that works for your needs.

It is not unusual for the thought of interior decorating to create fear in the minds of novice homeowners. However, the key to being successful at home decor begins with knowledge. You can transform your home into a thing of beauty simply by incorporating some of the tips that have been provided to you above.

Source: Interior Design Tips Perfect For Any Home